Installing and running the software
To use the software, a valid subscription is required — this can be a Trial, an Educational, or part of a paid subscription. A Consteel account is also needed to install Consteel, access the installer files, and use the online services included in your subscription. You can register a Consteel account on our website.
Create an account
![]()
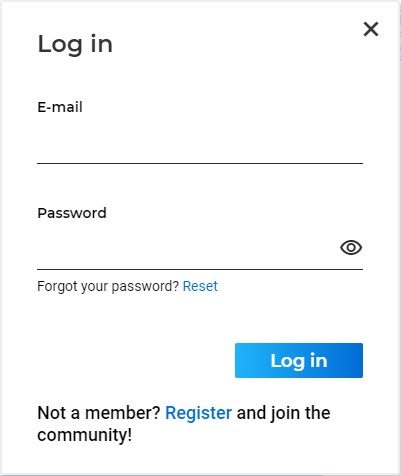
To create a new user account, click the LOG IN button in the upper right corner of the Consteel website, then click Register at the bottom of the pop-up window. Then enter your email address, your name, and a chosen password in the Create Account window that appears.
It is important to enter a real email address because you will receive an email to confirm it as the next step. At the bottom of the window, it is possible to subscribe to Consteel's professional newsletter and you must accept the terms of use and privacy policy.
You can then click on the Register button to proceed, and another window will inform you that the registration confirmation e-mail has been sent to the specified e-mail address and the registration must be completed using the link included in the email.
If you don't receive the email in a long time, you may need to check your spam and promotional folders in your email system. If the email is not found there either, you can request to send the confirmation email again if you try to login with your email address and password, then clicking on the Send confirmation email again text. After confirming the registration, you can log in to your user account.
Downloading the install package
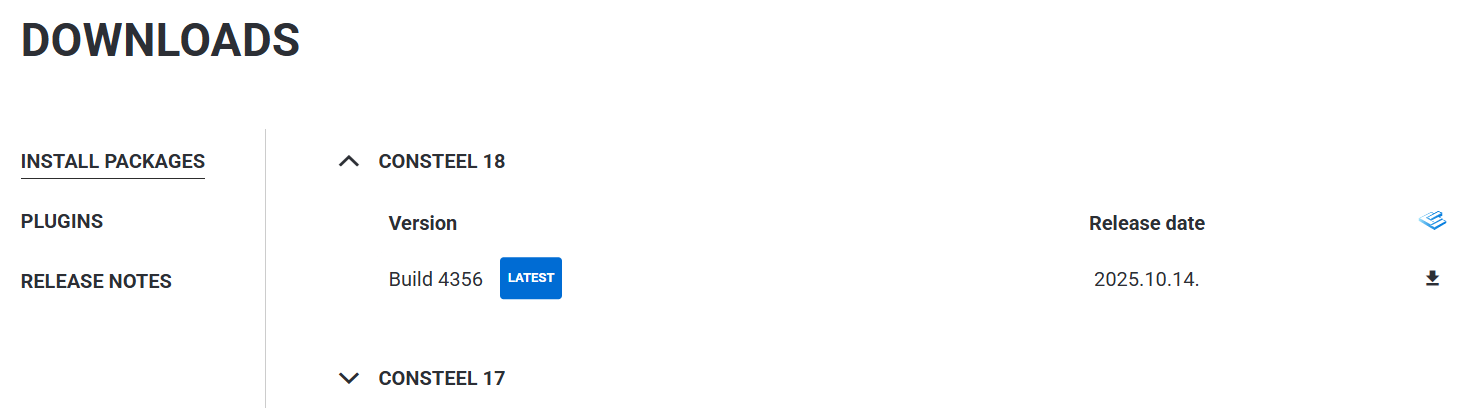
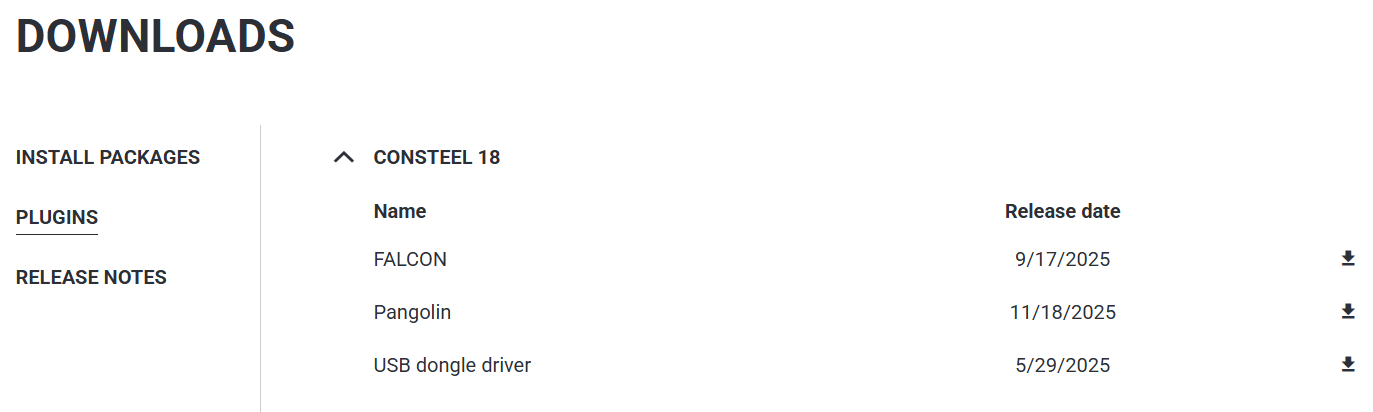
The ConSteel install package can be downloaded from the Downloads/Install packages section of the ConSteel website (https://consteelsoftware.com/downloads/) for registered users only.
Requirements
Minimum hardware requirements:
-
Processor Intel Core i5 (gen 10 or newer) or AMD Ryzen 5 (at least 4 cores, 2.5–3.0 GHz)
-
Memory 16 GB
-
HDD space 512 MB
-
Graphic card 2 GB non-integrated
-
Operating system Windows 11 64-bit
Recommended hardware:
-
Processor Intel Core i7 / i9 (gen 10 or newer) or AMD Ryzen 7
-
Memory 32 GB
-
HDD space 512 MB
-
Graphic card 4 GB non-integrated
-
Operating system Windows 11 64-bit
Does the IT team need to do anything to make Consteel work? (domain authorization)
Consteel connects to the following domains:
- https://consteelsoftware.com
- https://auth.consteelsoftware.com
- https://licence.consteelsoftware.com
- https://crash.consteelsoftware.com
- https://storage.steelspace.io
- https://api.steelspace.io
Installing Consteel
To install Consteel, start the downloaded installation file and follow the on-screen instructions. The program can be installed for your user account only (recommended) or for all users (requires administrative privileges). In the next step, you must accept the license agreement. The installer will then copy the software components into the specified directory (default: C:\Users<Username>\AppData\Programs\Consteel xx, where xx is the version number). By default, all components are selected.
Clicking "Next" allows you to choose the Start Menu folder where the program’s shortcuts will be placed. Finally, the installer will create a desktop shortcut if selected. The last step is the actual installation.
After installation, the Completing the Consteel 18 Setup Wizard window will appear, where you can choose to launch Consteel immediately by selecting the Launch Consteel option.
Starting the program for the first time
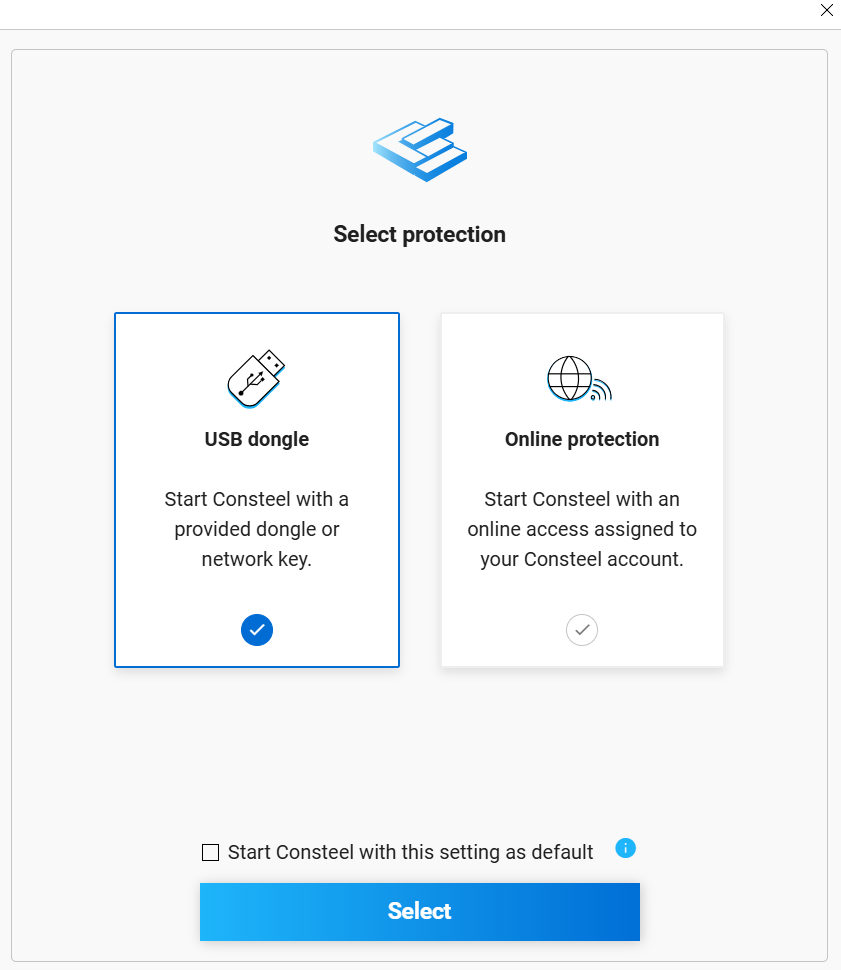
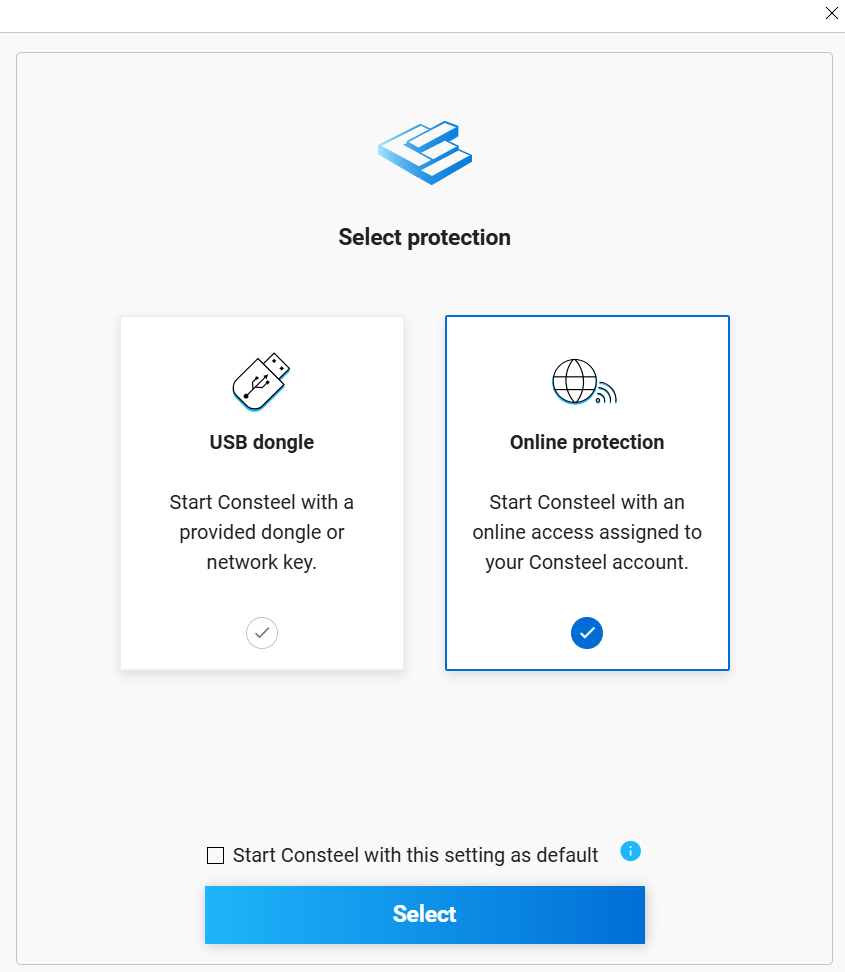
Launching the program for the first time you have to select whether you use Consteel with a hardware key dongle or with an online license. You have to select it according to your contract. If you own a hardware key dongle you have to select USB dongle. If you have already switched to the new online license and have already sent back your dongle, then you can select the Online license.
You can save this setting as a default setting. Do this only if you are sure about your choice! (If you have accidentally saved the online license as default but you do not have it the solution is at the moment only reinstalling Consteel.)
USB dongle
Online protection
Selecting USB Dongle
Before starting the program, the hardware key (USB dongle) must be plugged into an empty USB port of the computer, or in the case of a network key, the key must be accessible on a computer within the local network.
In addition, the USB dongle driver must be installed. Its latest version can be downloaded from our website under the Downloads menu, at Add-ons/Consteel xx/USB dongle driver (where xx refers to the main version number).
After the correct hardware key is recognized, Consteel will start. For further details, see the Project Center chapter.
If, after startup, Consteel does not find the appropriate hardware key connected to the computer (or available over the network), the online license login window will appear. This allows the program to be launched using the online license assigned to the Consteel user account, provided that the user has access to it.
Selecting Online
When using online protection, you must log in to your Consteel account for the first time using the login credentials registered on our website. These credentials can be saved and you can stay signed in by selecting the Remember me option, so the program will not request login again during the next startup.

After logging in, the Select software seat window appears, listing all seats (accesses) available to you. Once you select one and click Select, the software will start.
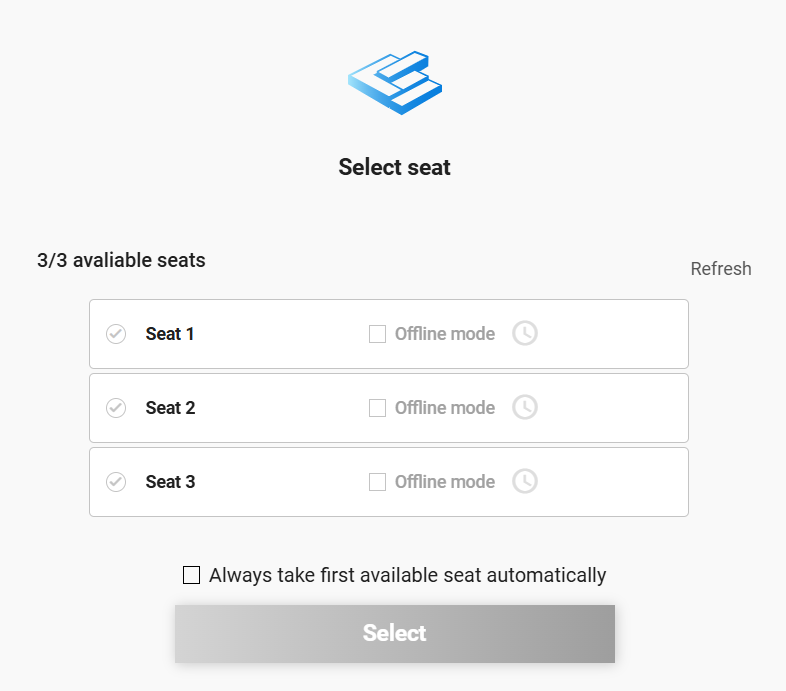
If you have only one software seat—or several identical seats belonging to the same license—meaning it does not matter which one you choose, it is recommended to use the option Select the first available software seat automatically.
If Consteel cannot find an available software seat, you can open your user account on the website via the displayed link to check the license status. You may ask the license holder to grant you access to the license, or you may need to assign access yourself.
You can read more about how to manage access and software seats here: Installing and running the software | Consteel Documentation Center For answers to licensing-related questions, see our Licensing FAQ – Consteel.
Feel free to contact us if you need further assistance!
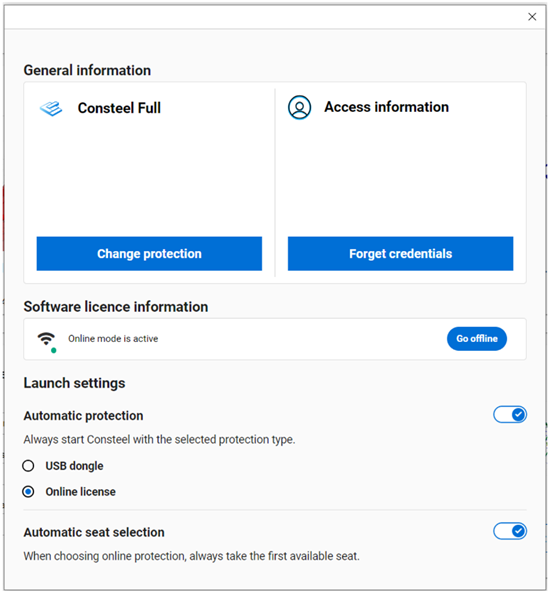
How to use Consteel offline
The selected software seat can also be taken for offline use. To do this, place a check mark in the checkbox in the row of the chosen seat, then click the clock icon that appears and specify the length of the offline period. (This can also be done later, while the program is running, using the License menu item in the main menu.)

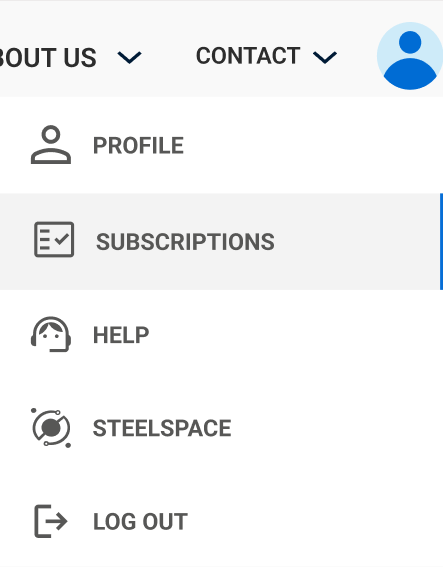
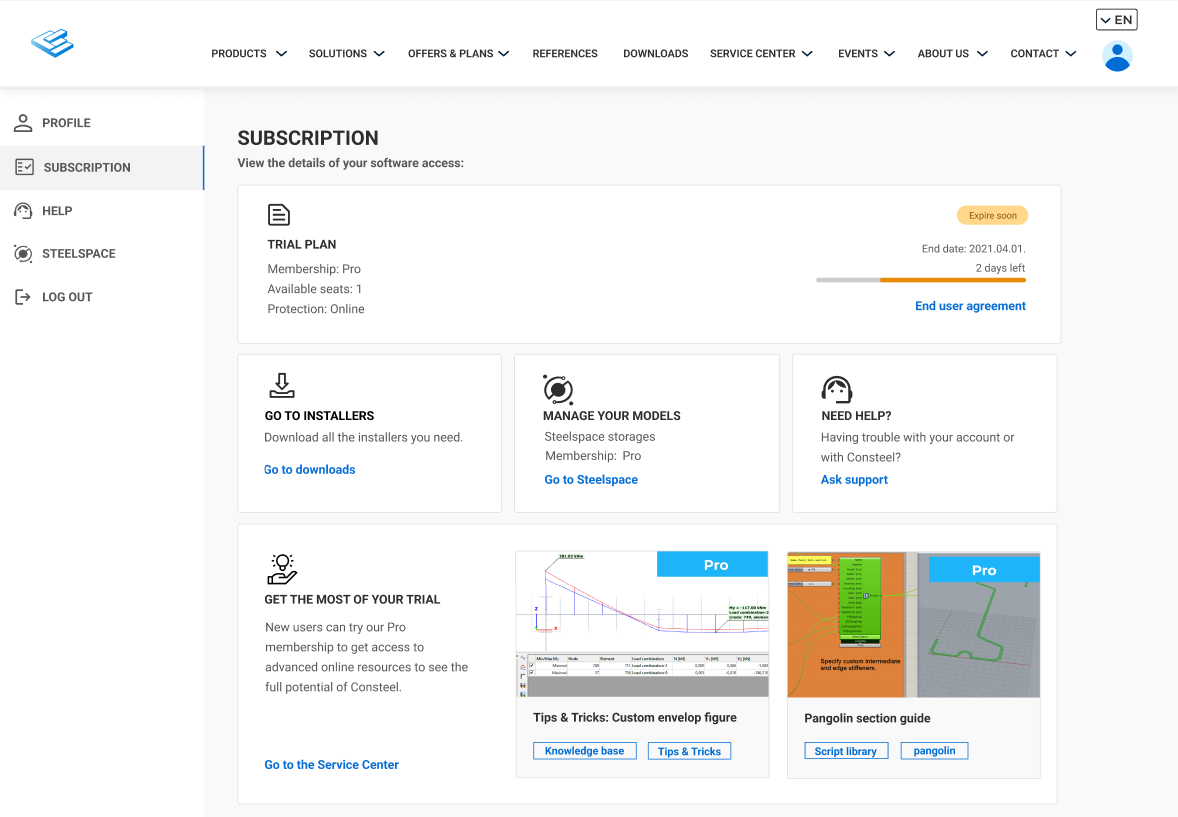
Subscription information
The online Subscription page covers software access-related information together with the End Use Agreement. Some of our latest articles can also be found on this first panel.
User management
Using the Package and User Management tool available under the Subscription menu of the user account, the license administrator can assign any software access to any software seat within the license.
In the User Management section, users can be assigned to individual software accesses. Each software access is linked to a specific Consteel Community Membership level, which determines the range of available online services.
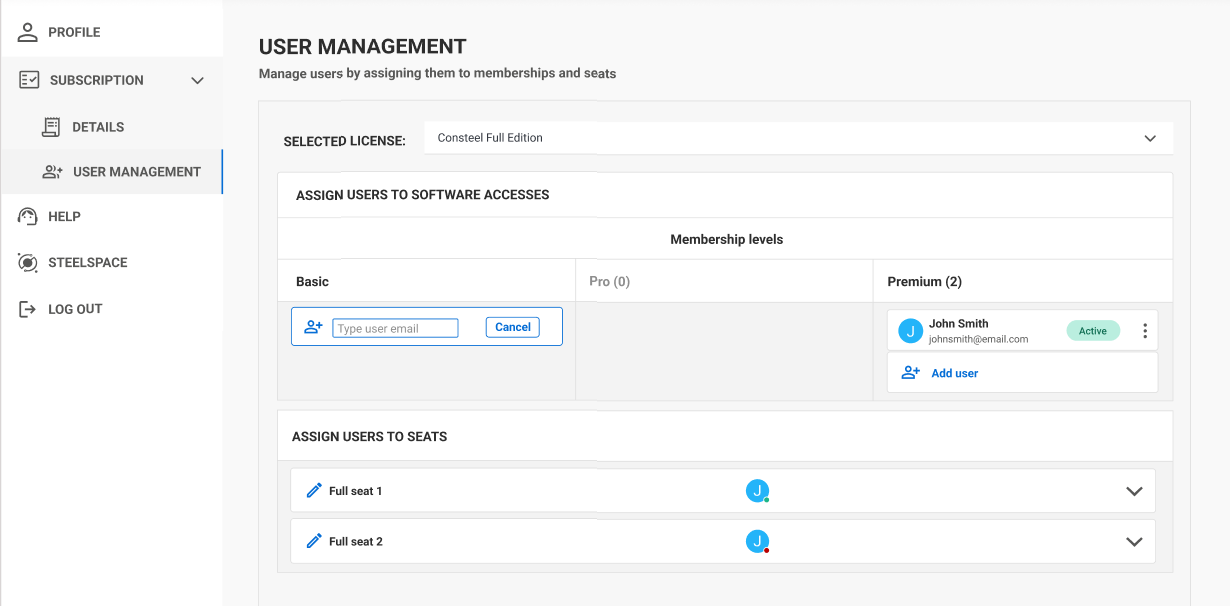
To assign one of the free software accesses to a user, select the Add User card. In the field that appears, enter the email address the user previously registered on the Consteel website, then finalize the action by clicking the Add button.


For a user who has already been assigned, clicking the three-dot icon allows the license administrator to move the user to another software access or remove them from the current one. A user can only be assigned to one software access at a time.
For the user to be able to run the software, the users assigned to software accesses must also be assigned to one or more software seats. When a user is newly assigned to a software access, this assignment happens automatically, but it can also be done manually:
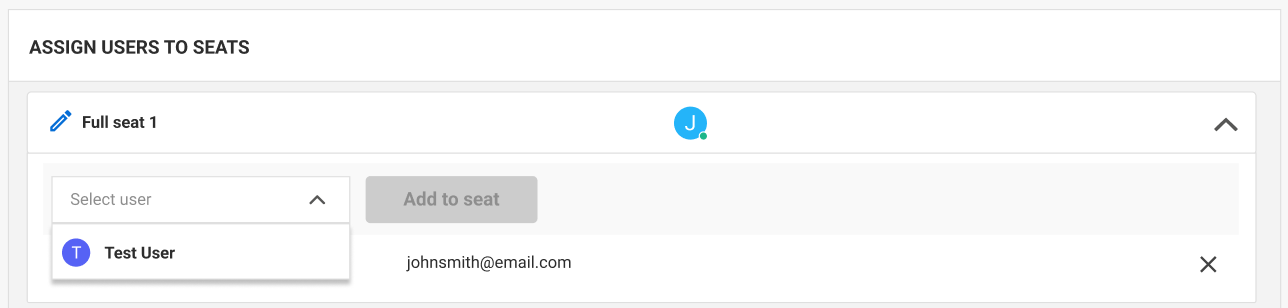
From the list of available software seats, clicking on any seat opens its panel, showing the software accesses assigned to that seat. New users can be selected from the dropdown menu and added to the seat by clicking the Give access button.
Users can be removed from a seat using the X icon at the end of the line. A user may be assigned to multiple seats simultaneously.
 Subscription plan information and end-user management
Project Center
The Project Center unites all the functionalities for model and account management.
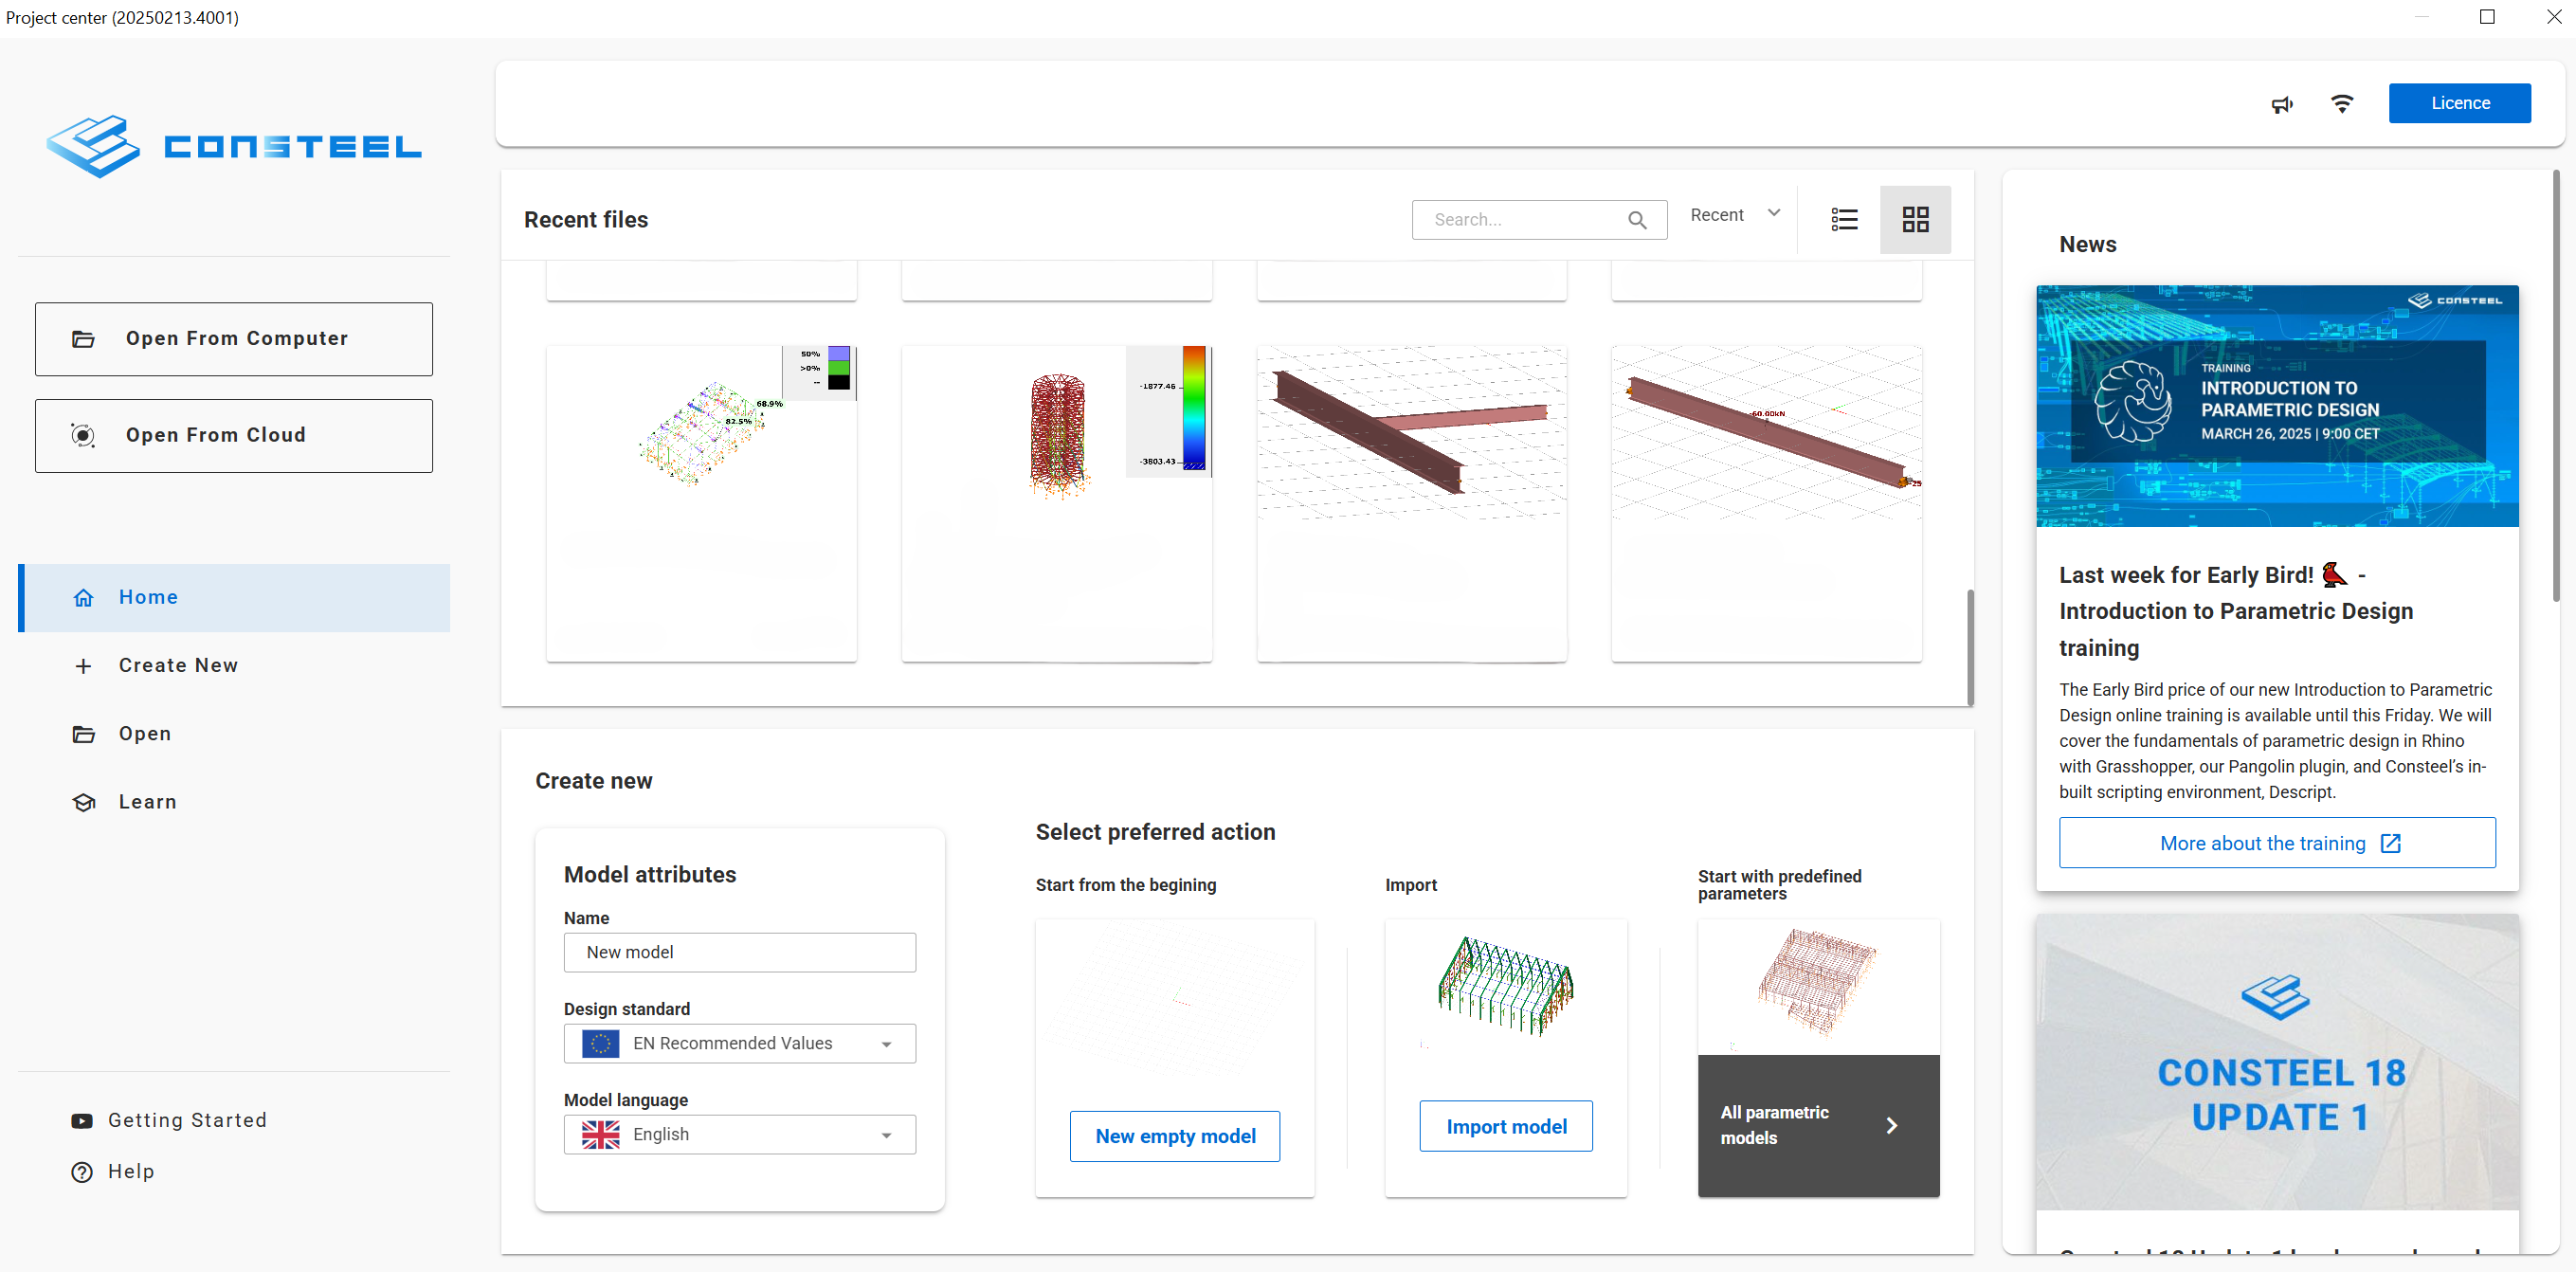
In the top-right corner, you can access and open the following:
- News : Display news that are relevant and engaging for the users.
- Notifications: Lists all general public announcements, such as reminders or notifications about temporary updates, possibly including a link.
- Protection Type: Indicates whether the protection is online or USB dongle.
- Licence Window: Allows you to access your licence information and change protection settings or go offline.

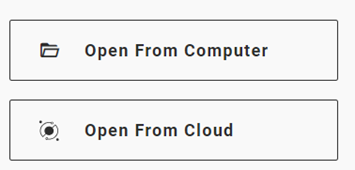
In the top-left side you can choose between opening options from the computer or from the cloud.
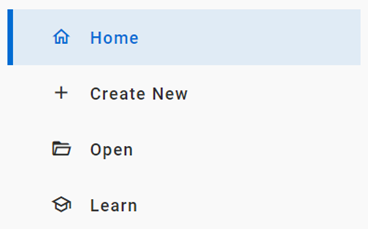
In the middle-left side you can navigate to Home, + Create New, Open and Learn tabs.
Home tab
This is the screen that appears when opening Consteel. It differs depending on whether you are a commercial or trial user. In the trial version, since you do not yet have any recent models, example models are displayed in the top section to help you get familiar with the software.
For commercial users, their recent models appear in the same section. The bottom part is the same for all users, where all options for Creating new models are provided.
Create new tab
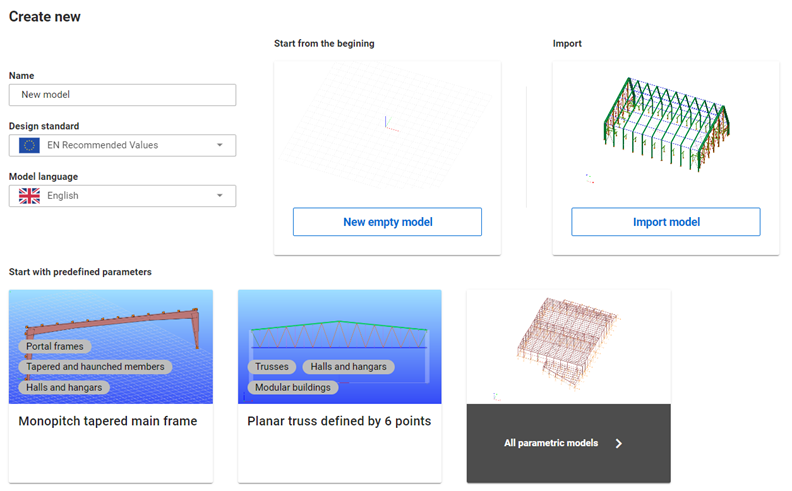
New models can be created by entering a name, selecting a design standard, and choosing the model language. You can choose from the following options:
- Start from the begining: Create a new empty model with no predefined structural members.
- Import: Opens a new model, and it will automatically trigger the Import Center window, allowing you to import models from various file formats.
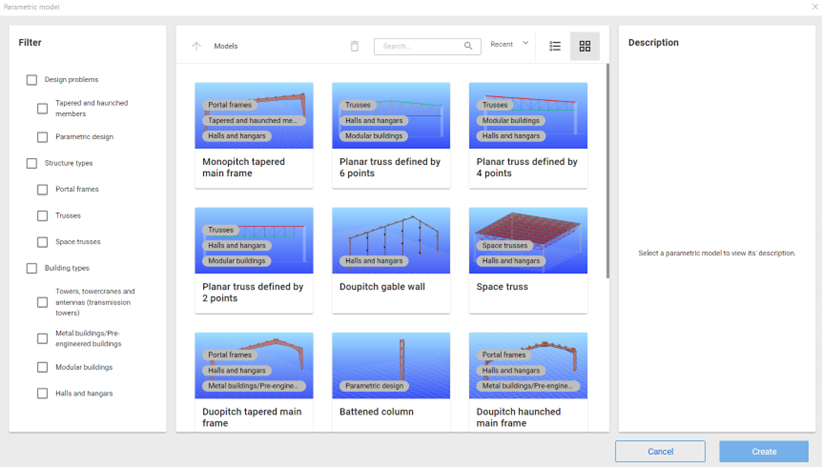
- Start with predefined parameters: Open a project and select a model from the parametric model library, where you can filter and choose the preferred model.
Open tab
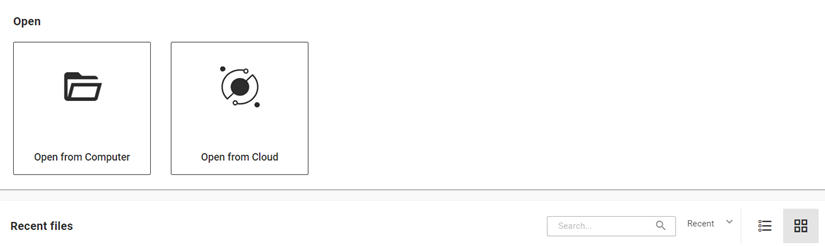
You can choose between Open from computer, Open from Cloud and Recent files.
Could open
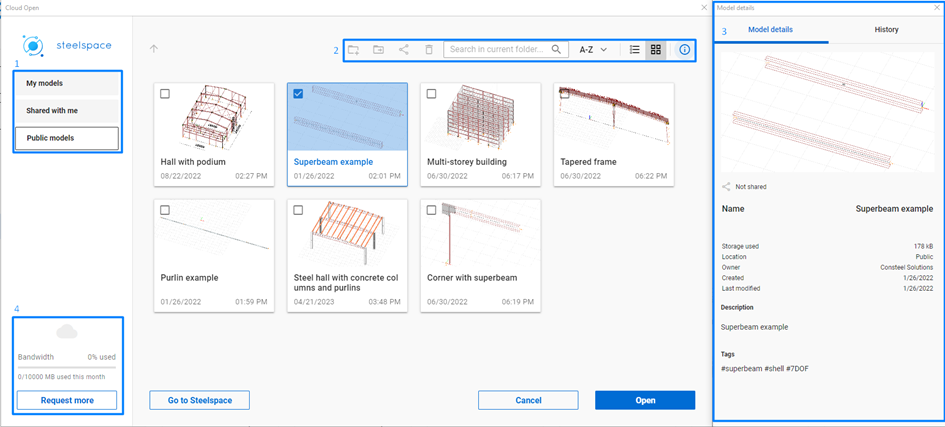
If you have models in your cloud storage or someone shared a model with you, you can access those models by clicking on the "Open from Cloud" button.
On the top left corner, you can choose between the following folders: My Models, Shared with Me, and Public Models. Clicking on any of these will open the corresponding folder. (1).
You can execute different actions (2) in your cloud storage from left to right: "create new folder", "move", "share model", "delete", "search", "sort by date or name", "list or card view", and switch "model or folder information" on or off.
The Model Details window will appear after selecting a model or folder and clicking the "Model Information" button. In this window, you can view details such as the folder's creation date, parent folder, and size.
If a model is selected, it will display information including the model name, storage used, location, owner, creation date, last modification date, and model description. For models in the History tab, you can navigate through all the created histories of the current model. In the case of folders, the History tab is inactive. (3).
Every model opening and sharing cost data bandwidth from your storage. Your monthly bandwidth limit is set by your membership level. You can monitor your current bandwidth usage at the left bottom corner (4).
Cloud storage provided by the Steelspace platform When you open a model from the cloud it is always downloaded to the local device into the folder: C:\Users(username)\AppData\Local\Consteel\CloudModels and kept synchronized. The amount of data bandwidth is set by your subscription's membership level, and it will renew every month.
Learn tab
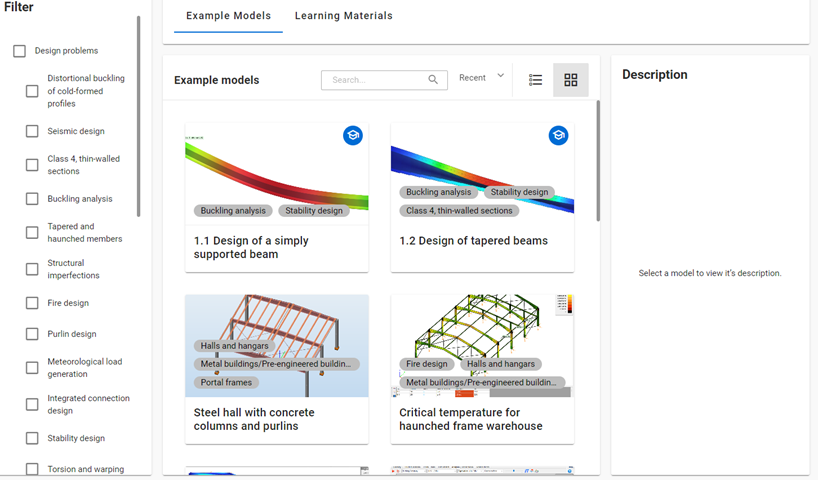
In this window, you can filter between model examples and learning materials according to your needs. Several tutorials are already available, providing step-by-step instructions for specific modeling or design phases, focusing on important features. Our tutorial library will be expanded soon.
On the left side, you can filter by design problem, structure type, and building type. Multiple categories can be selected at once.
Once you select an example model, a description will appear on the right side, providing all the relevant information about the model. Below the description is the Open button; pressing it will open a Consteel project containing the selected model.
If you select learning material, a description of the article will appear on the right side. Below the description is the Learn More button, which will guide you to our Knowledge Base platform, where you can read the full article based on your membership type.
Getting Started and Help
At the bottom-left corner of the Project Center, you will find the Getting Started and Help buttons.
Clicking the Getting Started button will direct you to our YouTube channel, where you can find videos about new features and tutorials on how to use the software.
The Help button will take you to the Consteel Help Center, where you can access support for both Consteel and Steelspace. To use the Consteel Support Center or the Steelspace support, you need to register separately.

Navigation overview
After opening the model, the first window that will pop up is the Navigation Overview. This window will help new users to familiarize themselves with the
- Navigation: you can customize your navigation preferences — such as movement, rotation, and zoom — by choosing from settings used by several popular software platforms.
- Selection: the most useful selection types are presented
- Model views: Hide, Submodel view, Full view and Fit view
- Background options: Default, Light, Dark
- Help: Support, hot keys and learning materials provided by Consteel.
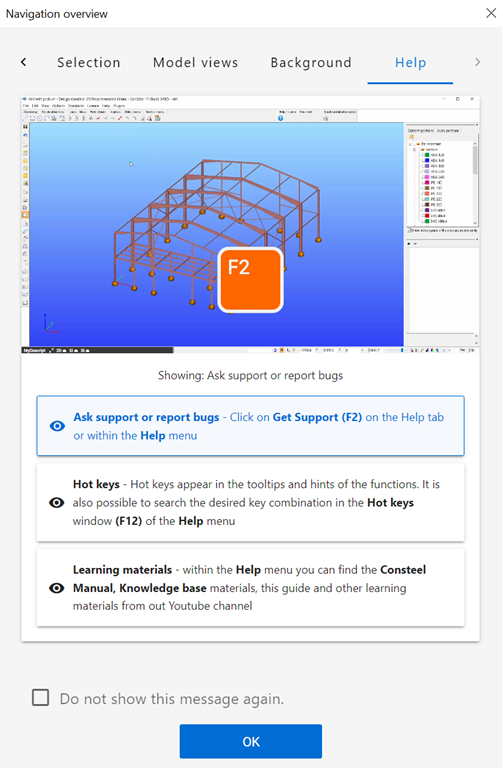
For more experienced users this window can be closed permanently by pressing the ‘Do not show this message again’ checkbox. The window can be called up at any time from the Help menu. Shift + N